Since more and more bags and packaging of various spices occured on our spice rack , I was looking for some beautiful and practical spice jars.
Requirements
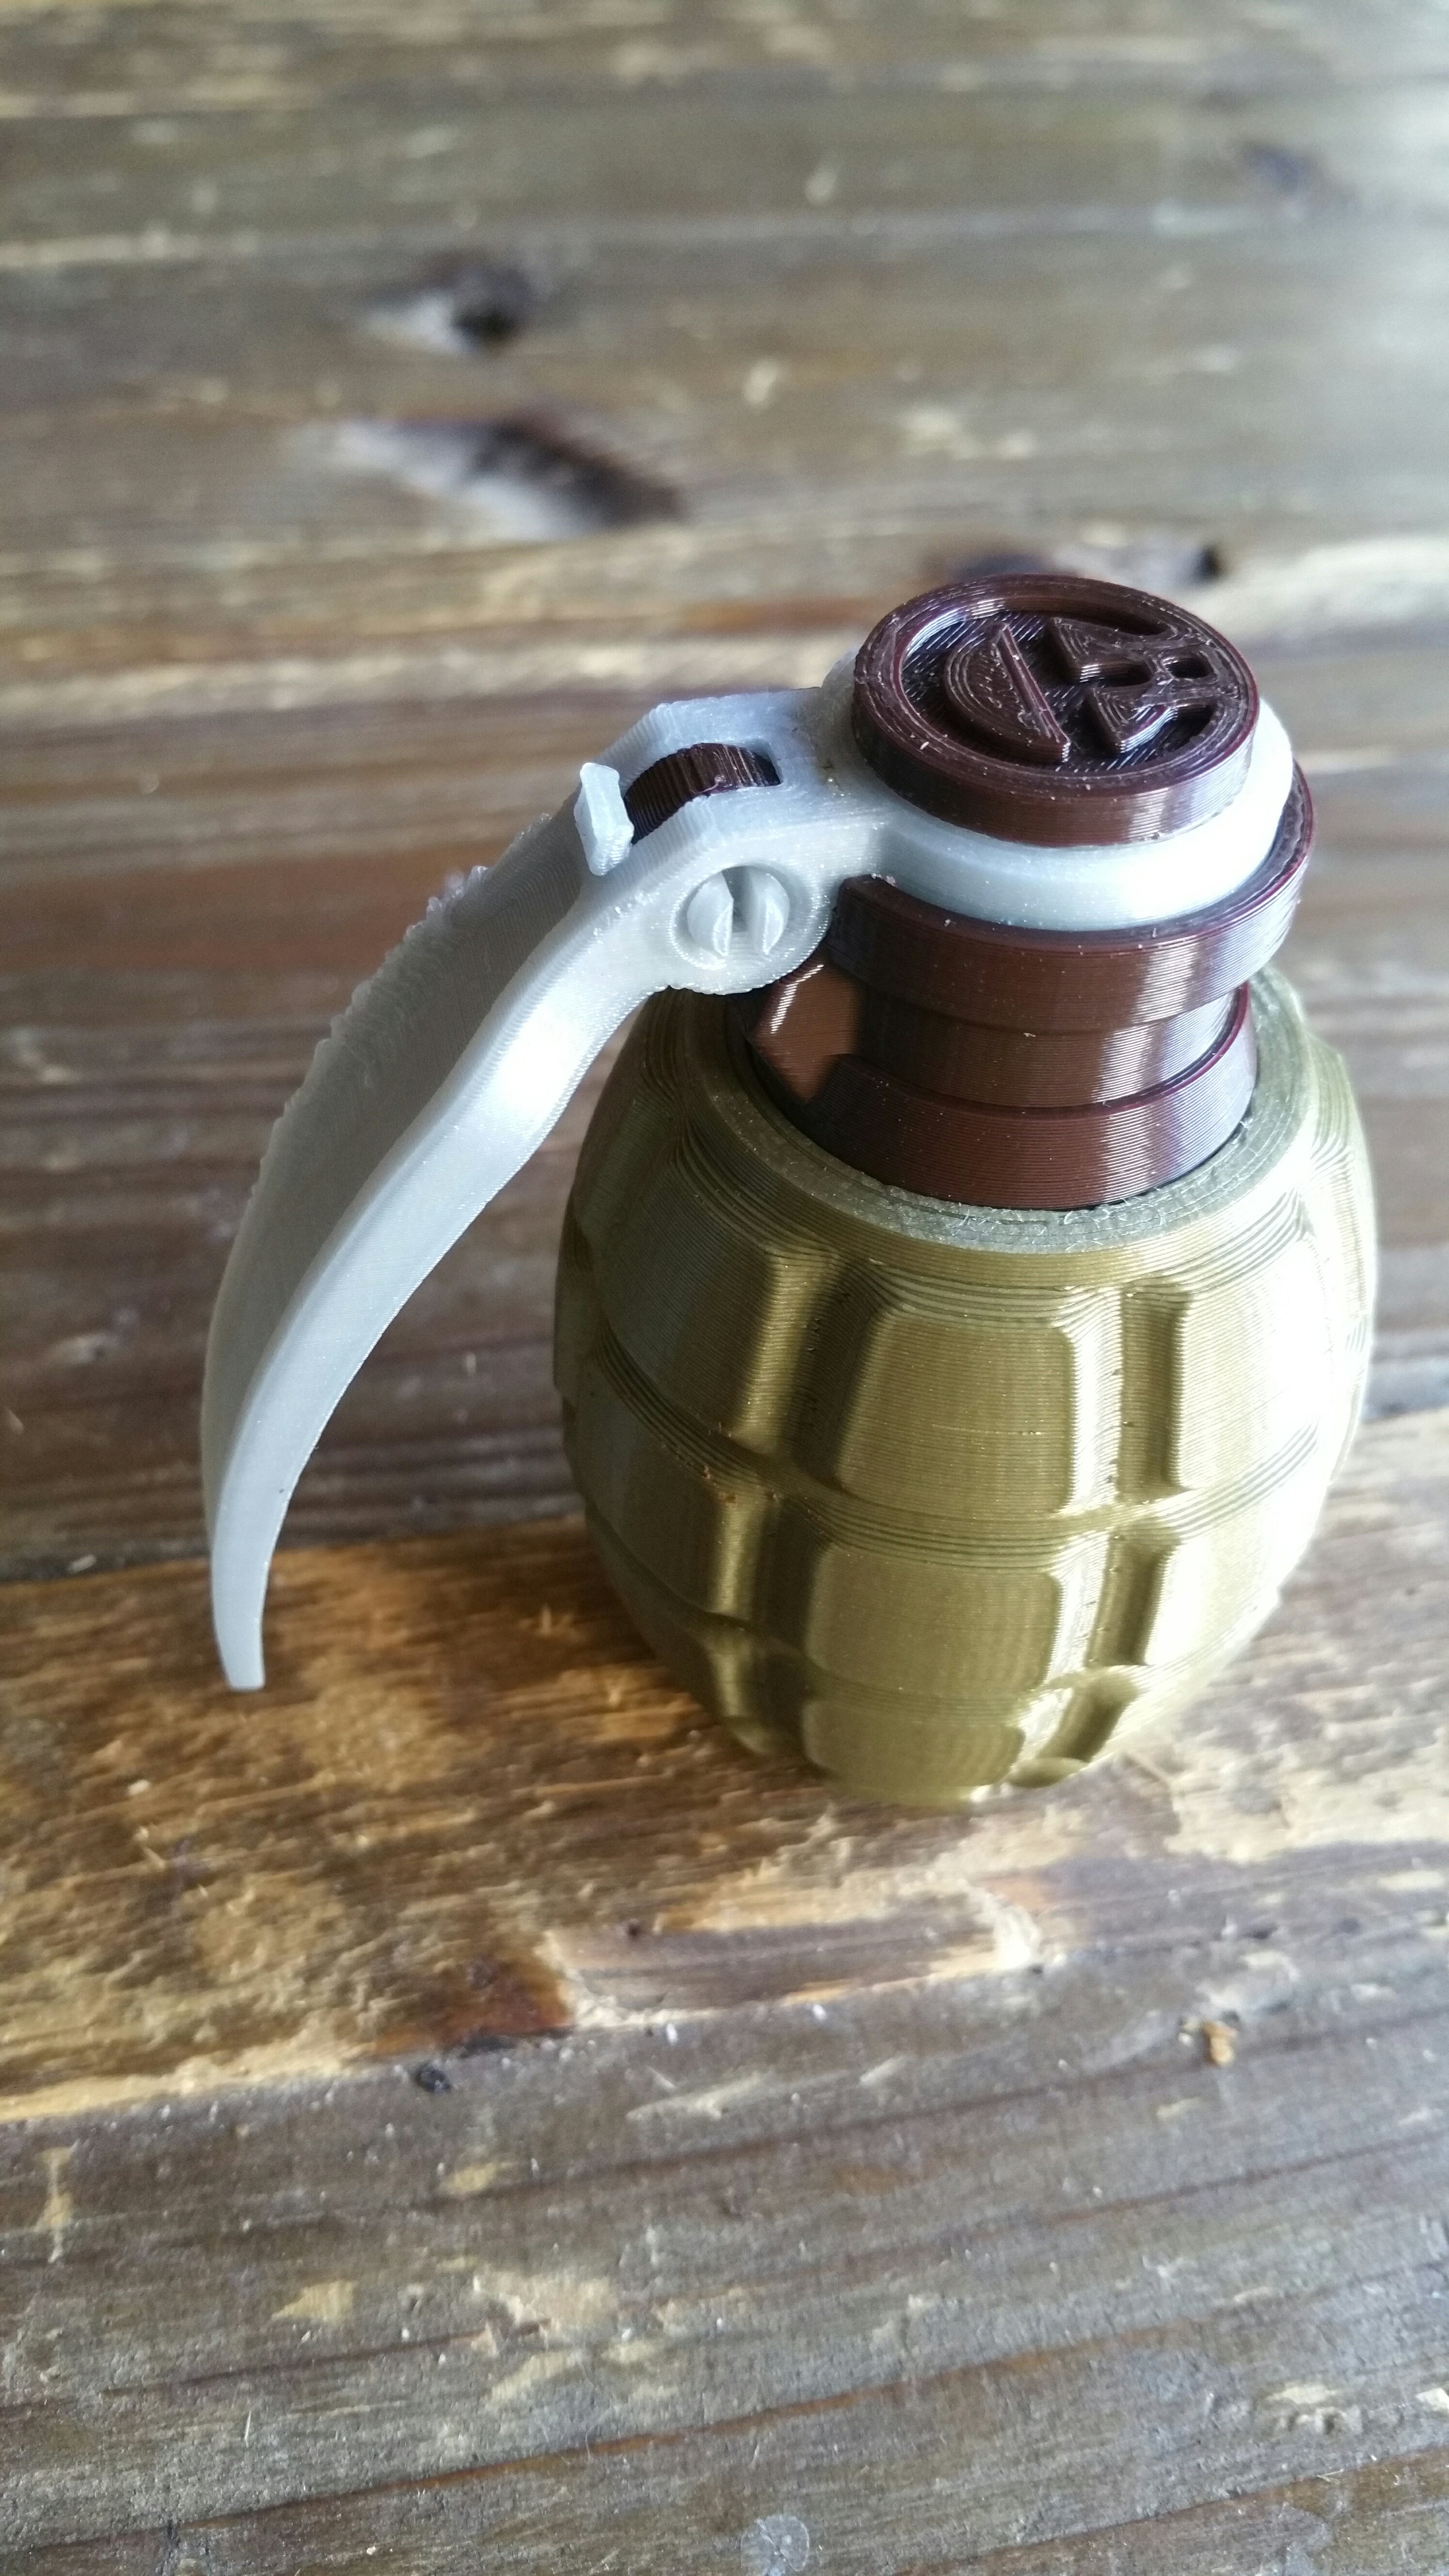
3D- printable should be the most important feature of the object, so my first stop in Internet research was thingiverse.com once again. There I noticed an admittedly unusual design of a spice jar in the form of a hand grenade.
Design
For hot spicy things such as cayenne pepper and chilli this design seemed very suitable:
 Design is available on thingiverse for Download
Details
The advantage of the design is that it can be printed in a very uncomplicated way. There are 6 different parts to print:
 The red rimmed parts (metal ring and magnets) must be added separately. However, I have initially dispensed the magnets, to open and close the container on the lever works but not so elegant as it might with magnets.
3D-Print
Printing of the items was very uncomplicated. Support structures and largely Raft could be omitted. The material used was cheap PLA filament of owlsat (ebay) for only 16 € per kg.
All was printed on my anycubic i3 mega with a 210 degree nozzle temperature and a tape-backed printbed area. Thus, it was possible to print without heating of the printbed.
First, the lower shell was printed in green PLA:
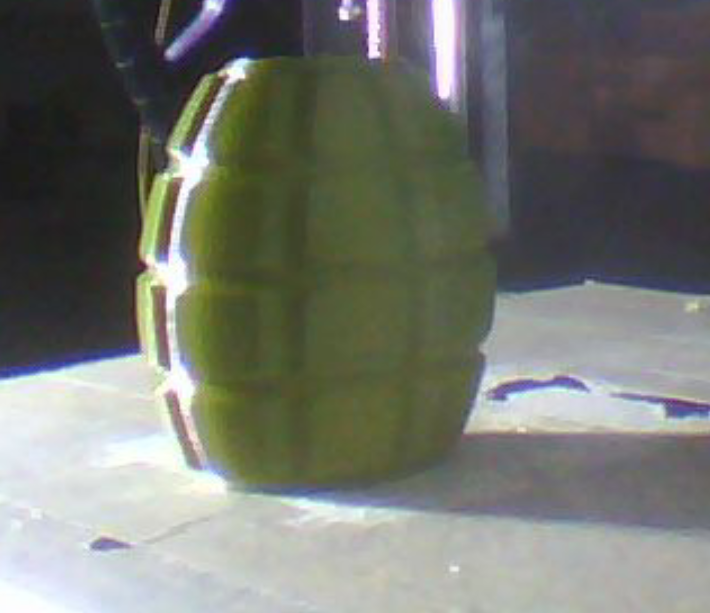
Here it is important that you print bottom-up with the underside upwards. The object is positioned that way as default in the slicer. Otherwise it would have to be printed with support. I printed with 0.4mm nozzle and 0.25mm resolution, at rel. high printing speed of 80mm / s. Only the first layers were printed at reduced speed at 40mm / s.
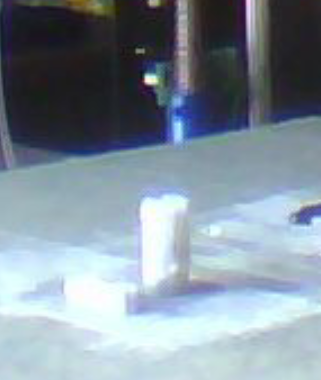
Since all other parts should be printed differently in color, a filament change was required. Afterwards the printing countinued with the lever in PLA silver gray:

As shown, the lever could also be printed without support also with 0.4mm nozzle and 0.25mm resolution at 80mm / s print speed.
Same color the two small parts needed to be printed for mounting at the bigger parts. Therefore, these were sliced and printed in a common print job. Due to the small size here, they must be printed with a small Raft, for better printbed- adhesion.
 Last but not least, the lid and threaded attachment for the housing had to be printed. Both should be done in dark brown, so both objects were printed together in one print job.
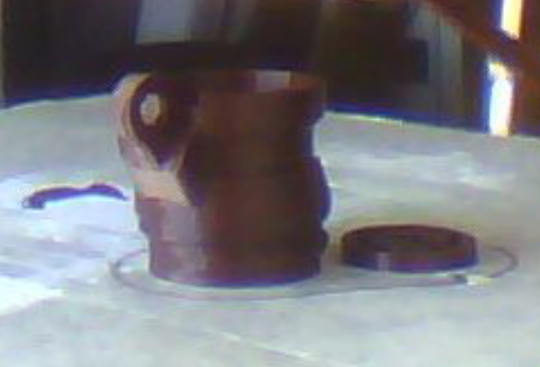
The thread attachment is best printed in the correct position, ie positioned top upside . Then you can print without support, because the overhangs shouldn’t be a problem.
Assembly
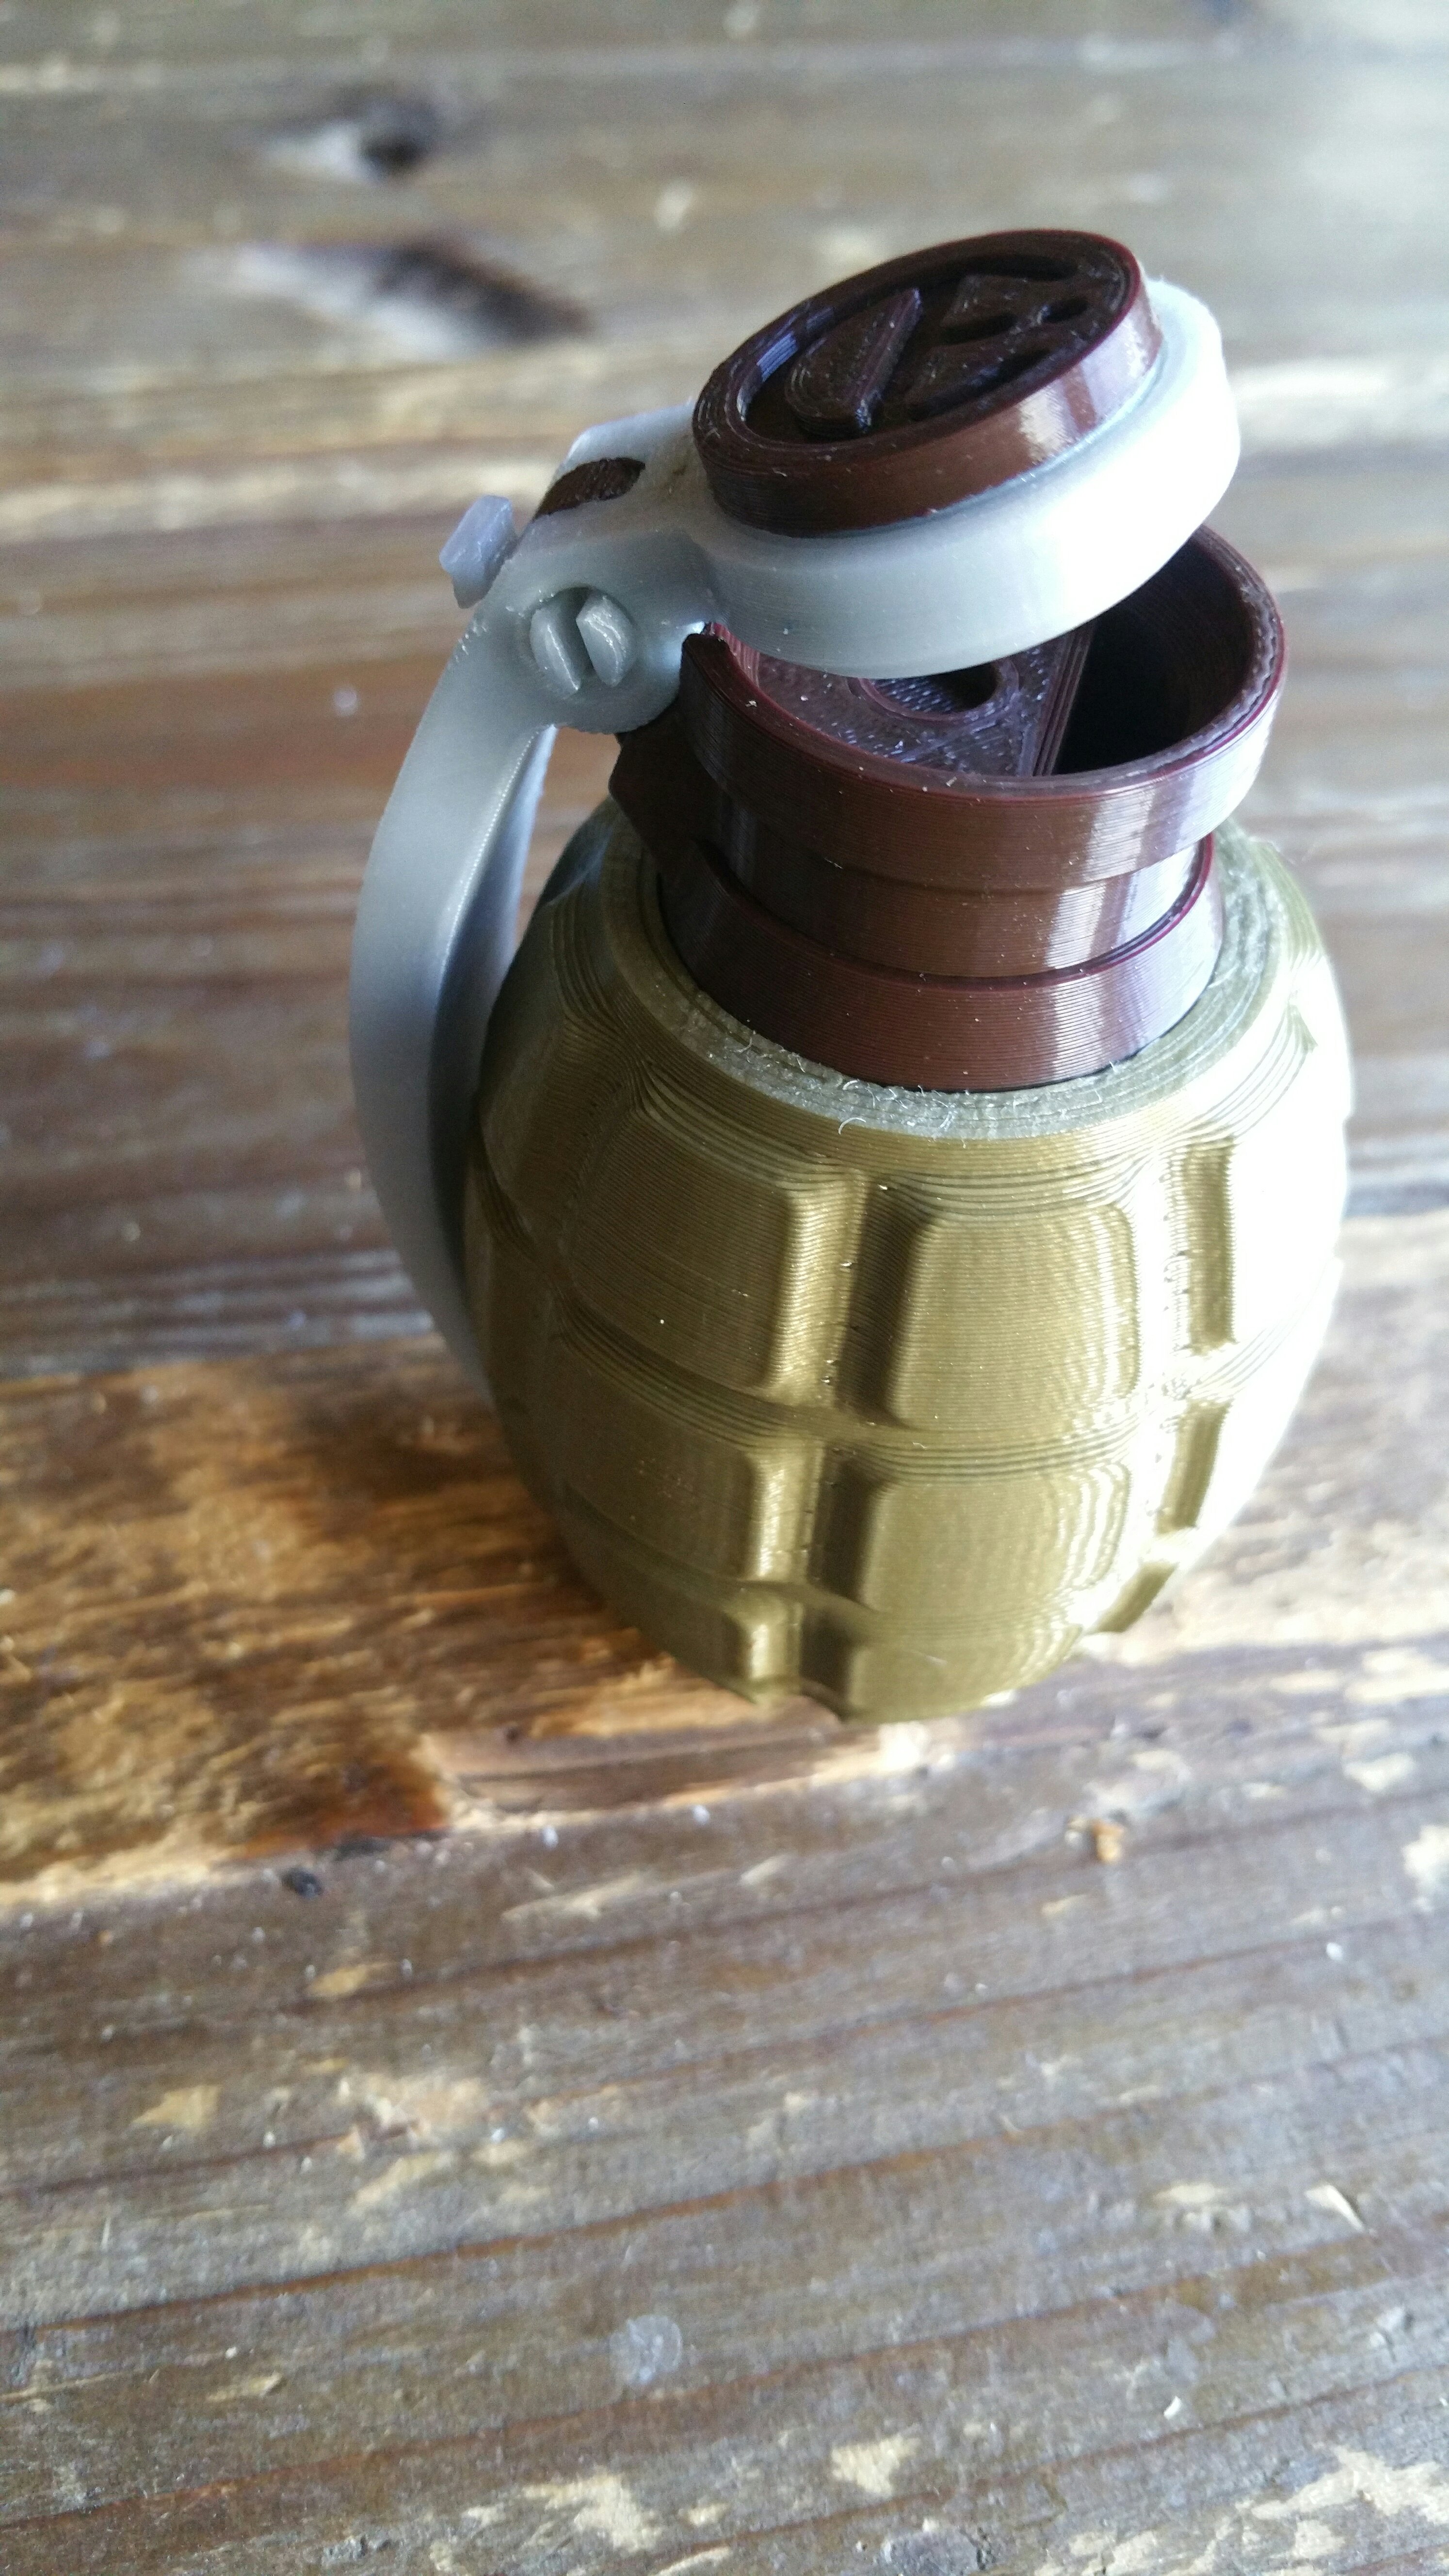
The assembly of the parts is very simple according to the exploded view shown on image in the head of this post. Prior to assembly, no further machining of the parts, such as grinding, sanding etc., should be required, the tolerances of the parts have been considered sufficiently large in the design. The threaded cover can be screwed into the housing easily and fits well. The (ornamental) lid on the threaded cover must be secured with a suitable adhesive.
After assembly, the cover for filling the inside can be easily removed and screwed on again at any time. The spout opening can be easily opened and closed again without magnets via the lever.
 My 3D- print can be seen on thingiverse too as a make.

Comments